Procurement
With Reqtest’s procurement module, you can manage the entire process of evaluating and selecting the right system supplier.
-
Create all requirements in a project to serve as the basis for the procurement
-
Invite suppliers to Reqtest, where they can respond to how they meet your requirements
-
Evaluate the suppliers against each other
-
Select a supplier and save the procurement documentation
By keeping both your requirements and supplier responses in Reqtest, you ensure the project has full visibility into what has been procured. This gives you the best foundation for a successful implementation.
Videos on Procurement Module
Key Features
The procurement module is built around a main project that is linked to a number of sub-projects. You invite your suppliers to these sub-projects and ask them to provide the information you need. You can then compare their responses and, once you’ve made your decision, import the selected supplier’s answers back into the main project.
Benefits of the Procurement Module
-
You keep all data in Reqtest, including your requirements and the suppliers’ responses
-
You can communicate with suppliers directly in Reqtest and ensure everyone receives the same information and conditions
-
You can track each supplier’s progress
-
Once a supplier has been selected, all documentation is stored in Reqtest, providing a strong foundation for the project as it moves forward
How the Procurement Module Works
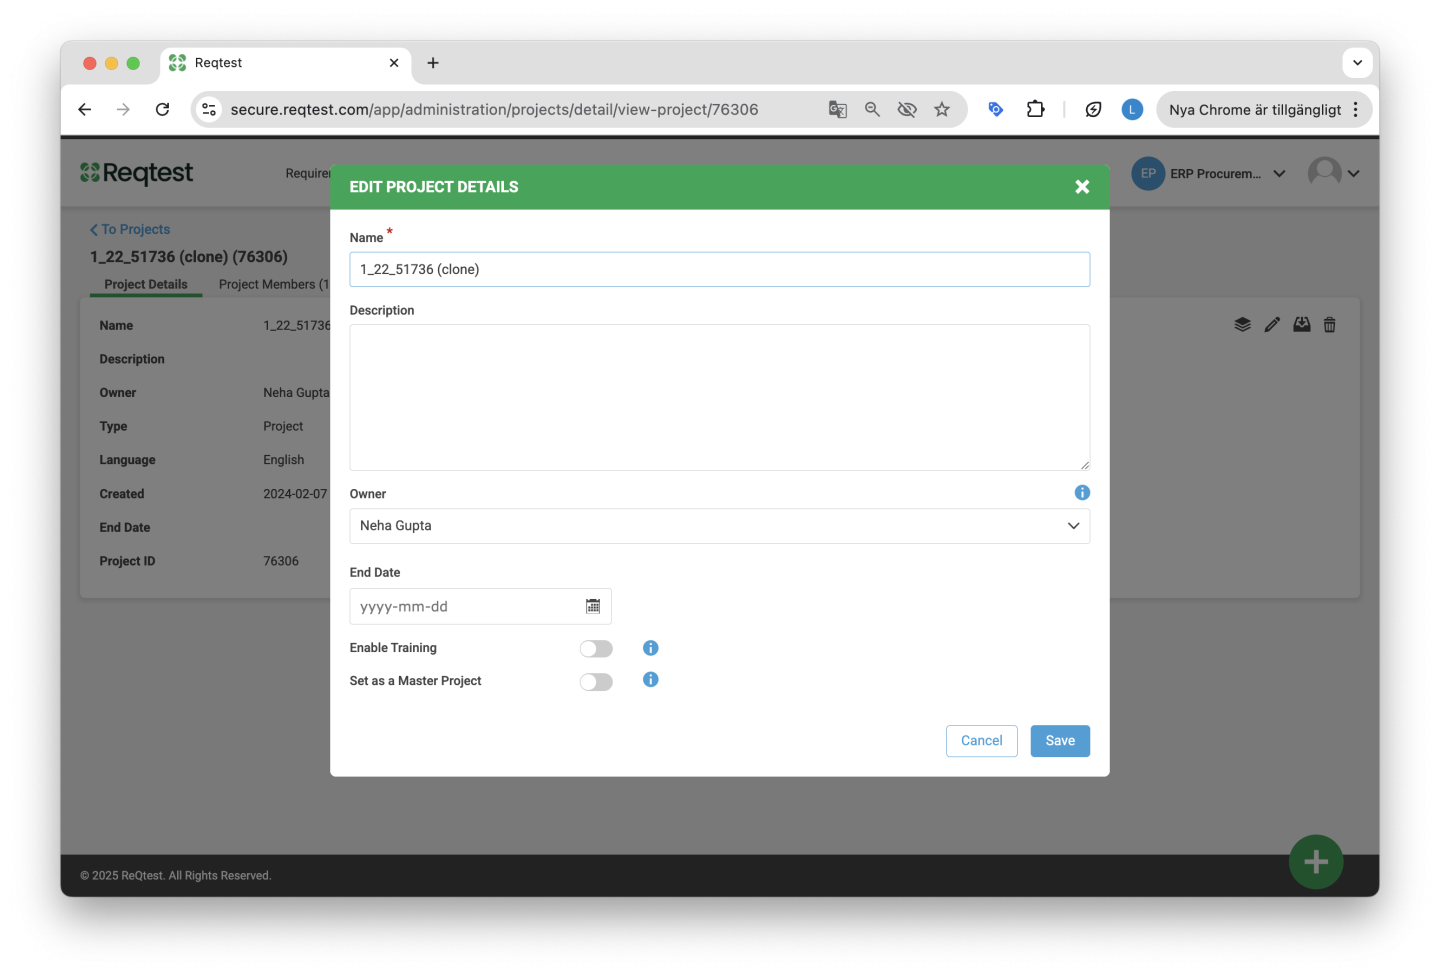
To access the procurement module, you need to convert your project into a main project. You do this by going into the project settings and marking the project as a main project. Once that’s done, you’ll see the procurement module as a new tab under Project Administration. There, it is labeled as Supplier Projects.
The core process that Reqtest is designed for looks like this:
1. Preparation
To conduct a solid supplier evaluation, you’ll need to:
-
Make sure all requirements that the supplier should respond to are included in your main project
-
Under “Customize form,” add the fields you want the supplier to respond to
Example fields:
Requirement
It should be possible to pay using Klarna and PayPal
Fields for the supplier to complete:
-
Standard meets requirement – Partially
-
Time to meet requirement – 40 hours
-
Comment – The system currently supports Klarna, but an integration needs to be built for PayPal
2. Create Supplier Projects
Based on the number of suppliers you have, create one project per supplier.
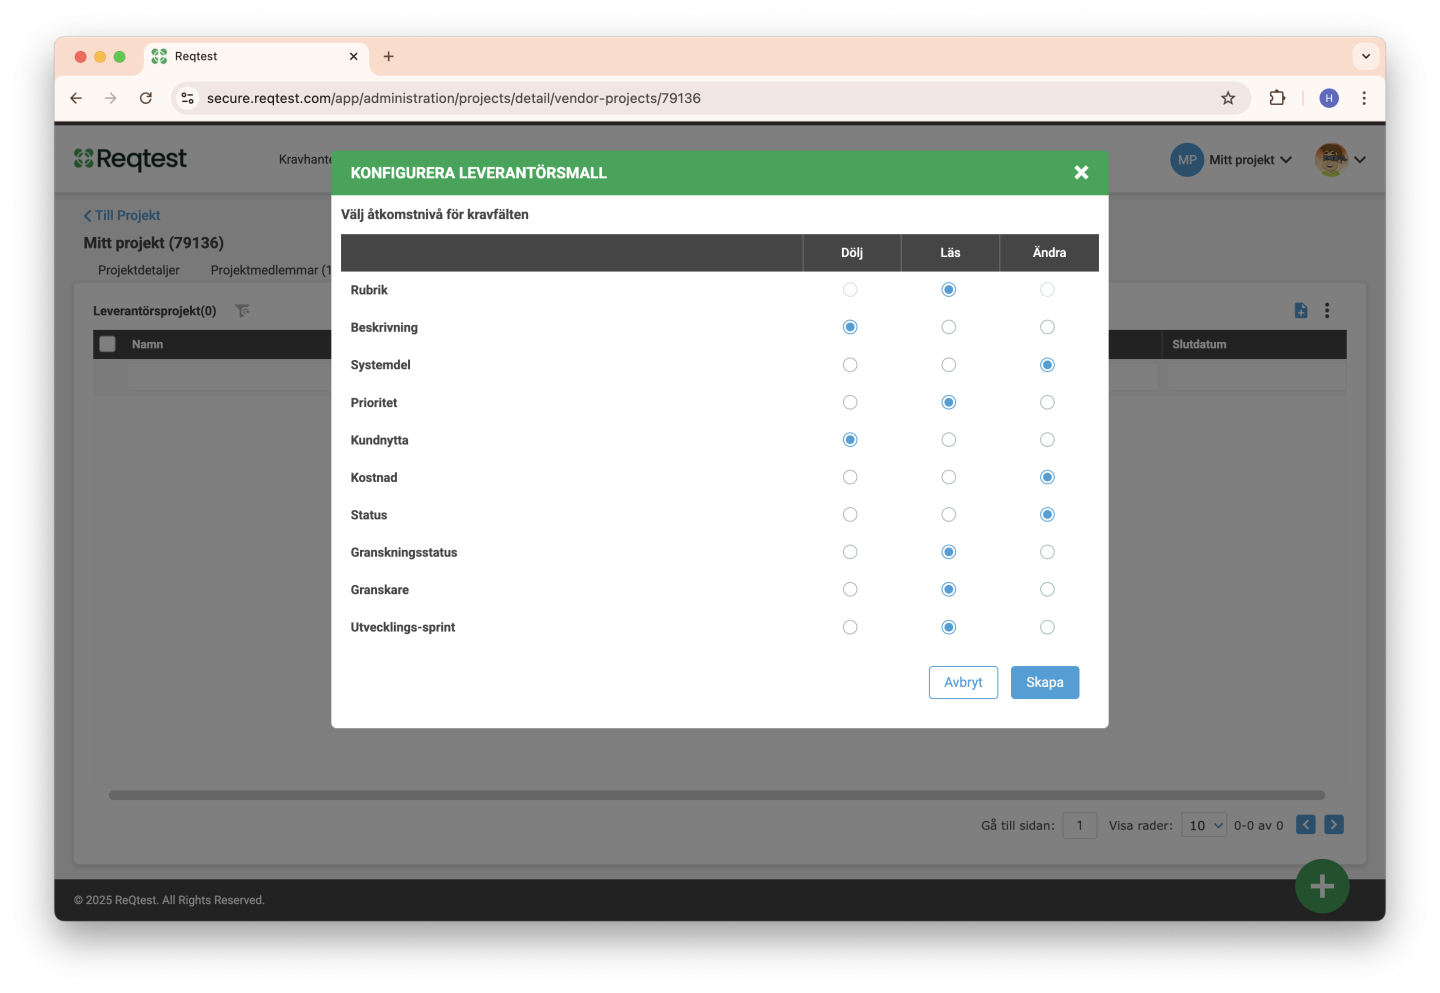
3. Configure Supplier Template
You need to configure which fields your suppliers can view and which ones they can edit. Open the template and configure it accordingly.
4. Communicate with the Supplier
You have several ways to communicate with the supplier. The first is to use Project News, which your suppliers will see every time they log in.
You’ll find these news updates in your main project on the dashboard. Select Manage News, create your message, and publish it. When the supplier logs into Reqtest, this will be the first thing they see.
The second way your supplier can communicate with you, or you with them, is through the comments field. If you write in the comments and tag each other, the message will appear both in the comments section and as an email notification.
5. User Management
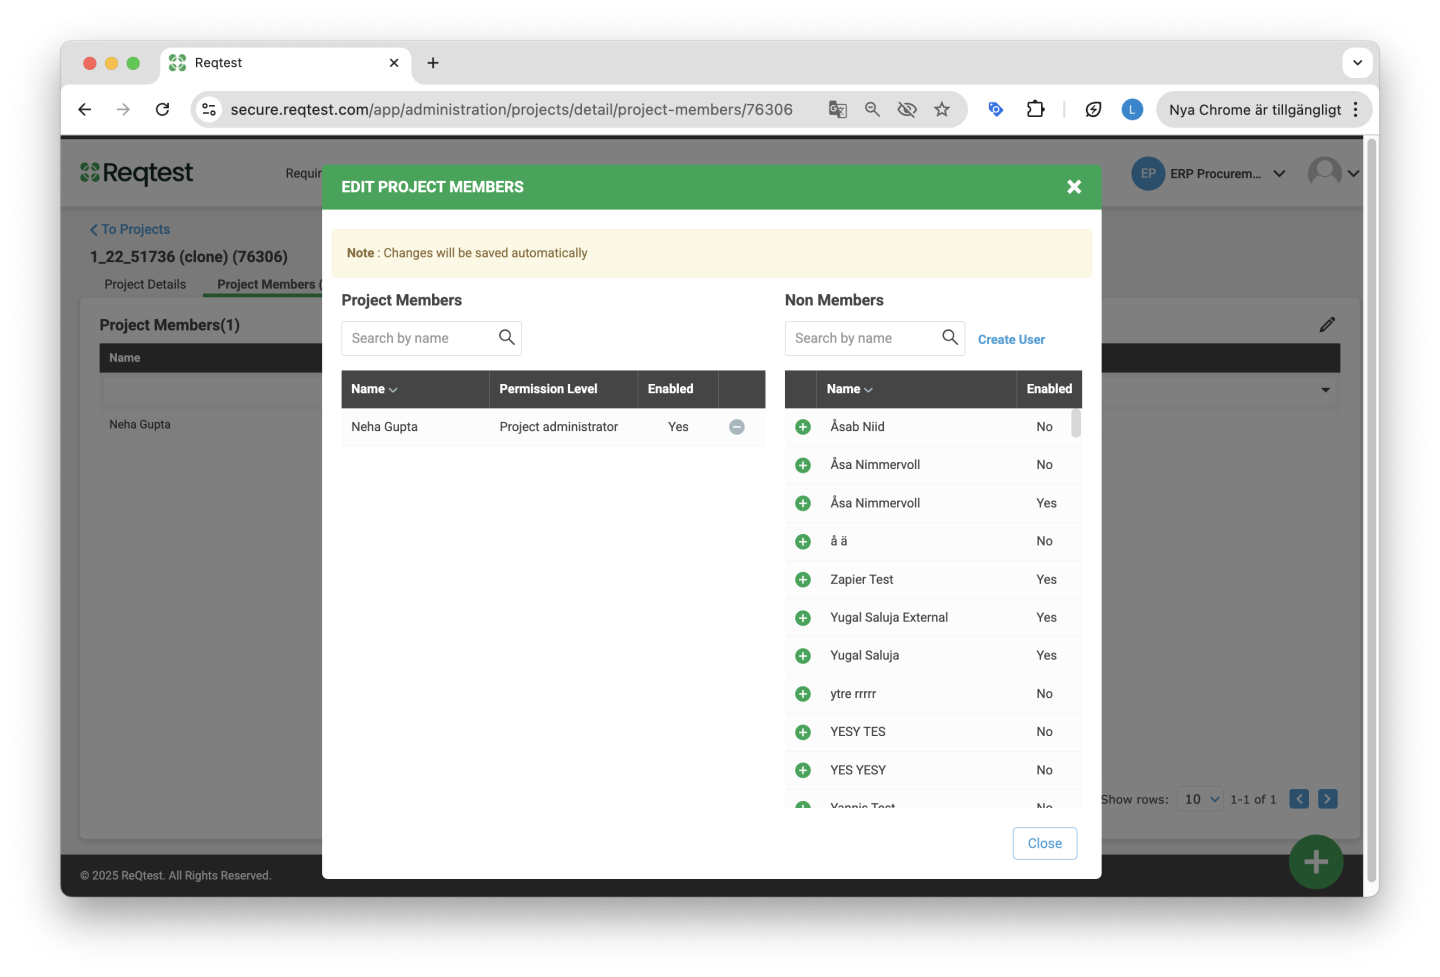
Once you’ve configured the template and added the necessary information, it’s time to invite users to their respective projects. Select the project you want to invite users to, then add the supplier users who should have access to that project.
6. Activity While the Supplier Is Entering Data
While suppliers are entering information in their projects, there are several ways for you to follow up:
-
You can enter the project to see how far they have progressed
-
You can export the project data to review current responses
If you need to update, remove, or add new requirements, you can do so in your main project. These changes will automatically be pushed to the supplier projects.
7. Evaluate the Suppliers’ Responses
Once the suppliers have completed their responses, you should deactivate editing. When editing is turned off, the supplier will no longer be able to change their answers. They will still be able to access the project and view their responses.
If you want to allow them to make changes again, simply enable “Allow editing.”
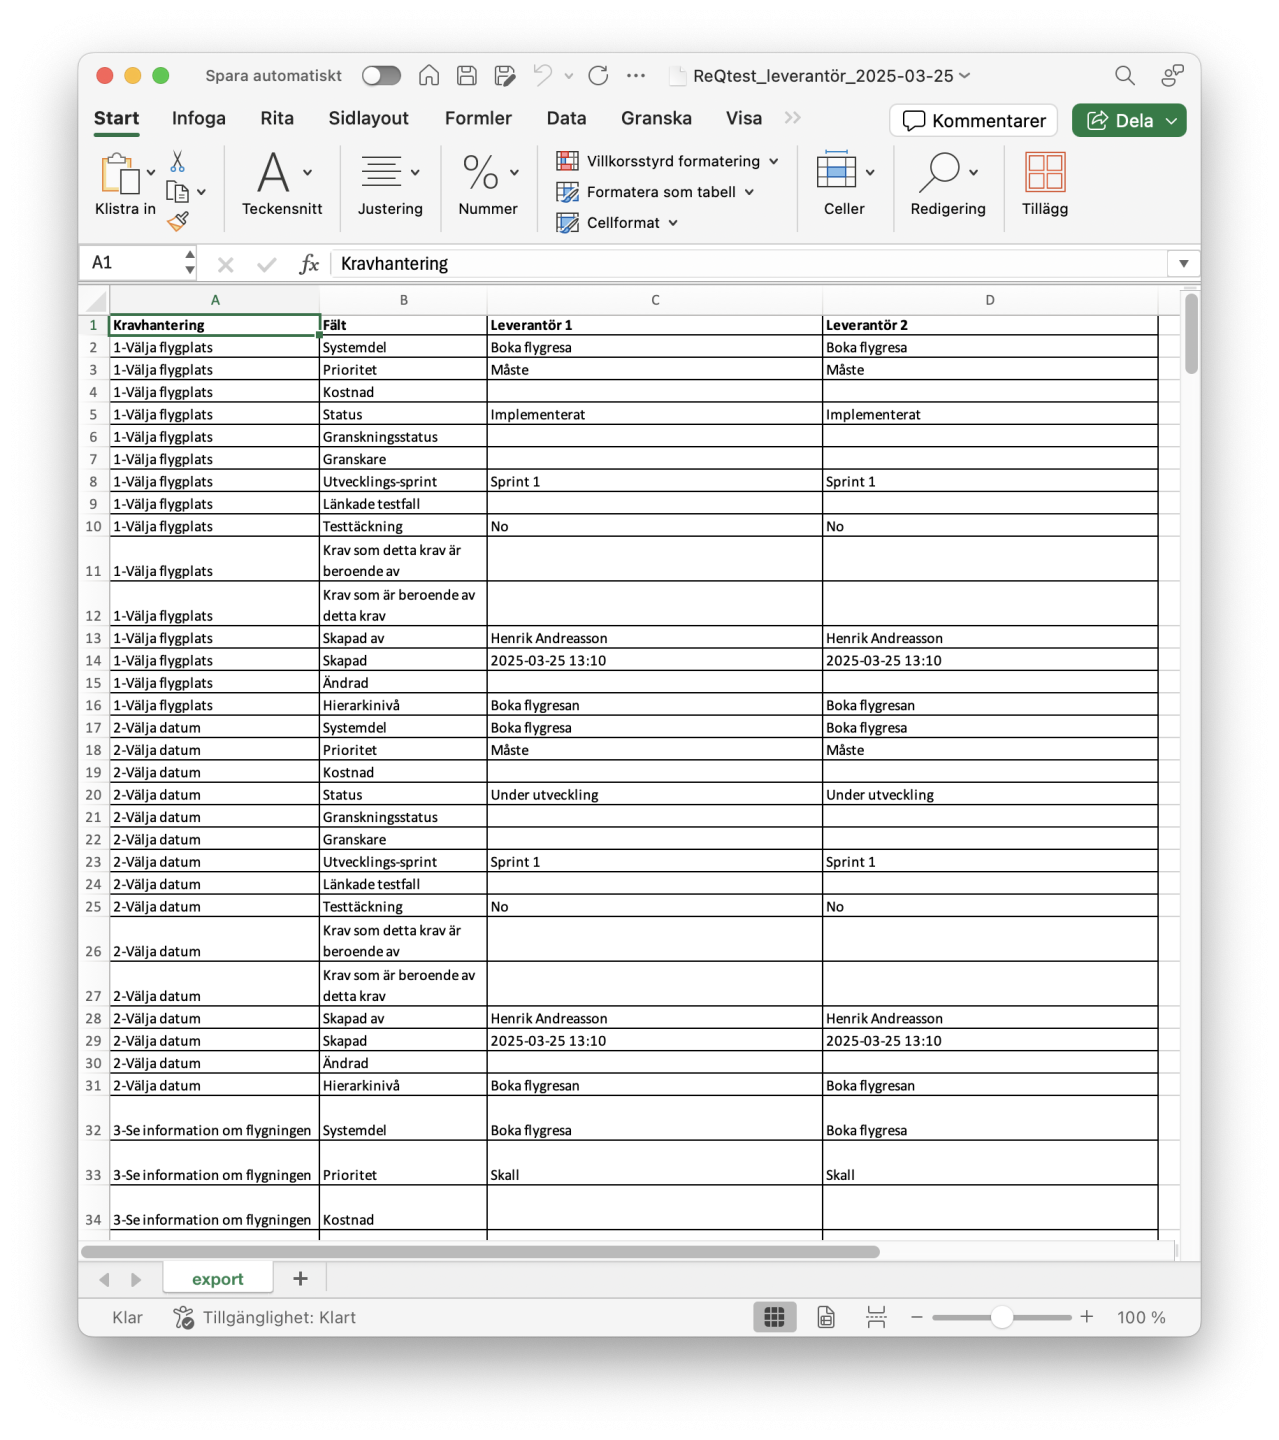
Once you’ve locked the suppliers’ ability to make changes, you can export their responses to Excel. This will display their responses side by side, making it easy to compare their answers.
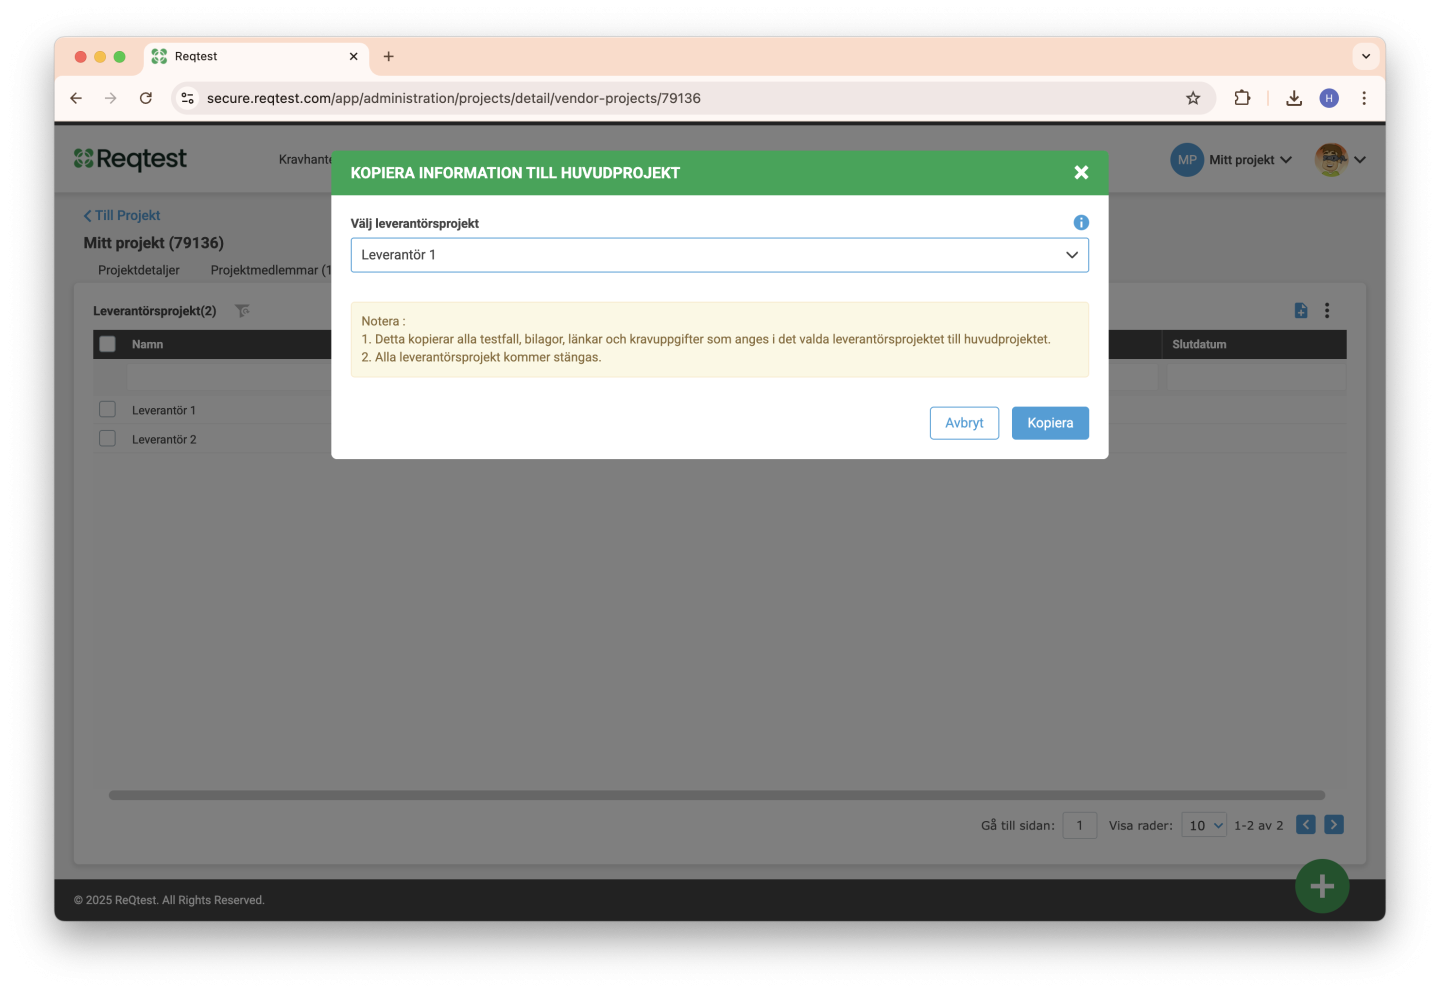
8. Close Project and Copy to Main Project
If you want to close a supplier project, you can select it and choose Close Project. This will remove the supplier’s users, end the synchronization with the main project, and archive the project.
The easiest way to finalize a supplier evaluation is to select the project for the supplier you’ve chosen and choose Copy to Main Project. The supplier’s responses will then be copied into the main project, while all users in the supplier projects are removed and the projects are archived.